

Grouting with Epoxy Grout Guide
16/10/2026
Epoxy grout (epoxy resin grout) provides tilers with products that are quite different from standard cement based grout and more people are interested in it now due to its durability. Get the technique right, and you are left with a joint that’s stain proof, chemical resistant and virtually maintenance free for the customers, which makes it worth the extra care on site. In this article, we will show you step by step how to grout with epoxy grout and some useful tips you don’t want to miss.
What Is Epoxy Grout?
Most epoxy grouts for tiling consist of two components: the grout mixture (Part A) and the resin hardener (Part B). Unlike cement-based grout, it doesn’t dry out. It sets through a chemical reaction, so once it’s mixed you have a limited time to use it, whether it’s in the bucket or in the joint. The finished joint is non-porous, so it never needs sealing. It resists stains from oils, acids and most household chemicals, and it keeps its colour much better than cement grout.
Where Epoxy Grout Makes Sense
Epoxy isn't always the right call for your project - it can be more expensive, slower to install, and less forgiving than standard grout. However, it earns its place on jobs where performance matters more than ease of application, such as:
Commercial kitchens and food prep areas: withstands grease, acids and regular chemical cleaning
Swimming pools and wet rooms: stays sound in constantly wet conditions where cement grout can break down
Bathrooms and shower enclosures: needs no sealing and resists mould and mildew
Busy commercial floors: stands up better to wear and impact
Narrow joints on porcelain and glass: keeps its colour and resists staining

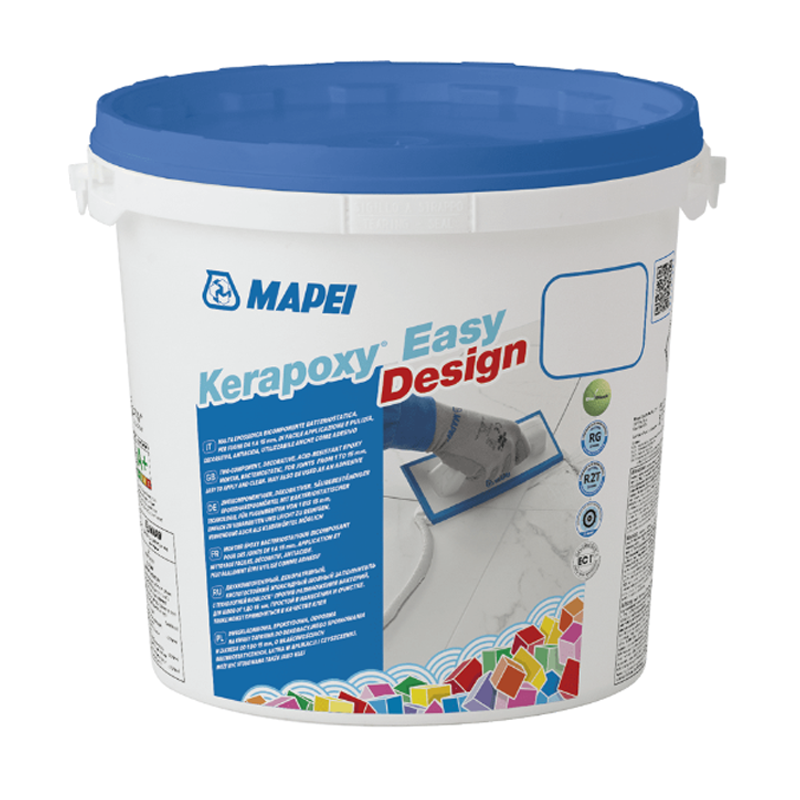
FROM £45.59 INC VAT

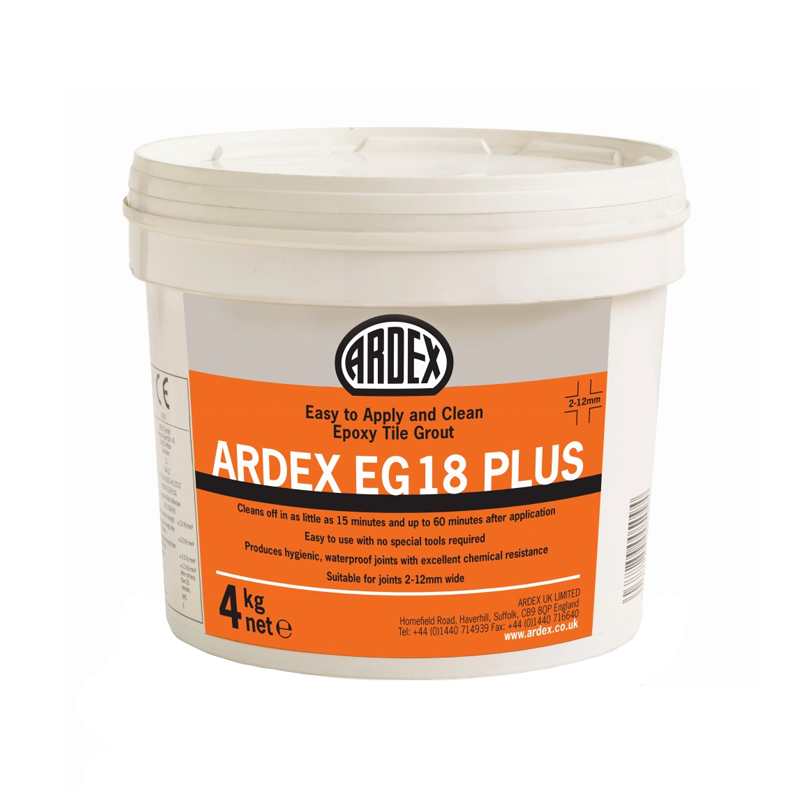
FROM £67.42 INC VAT

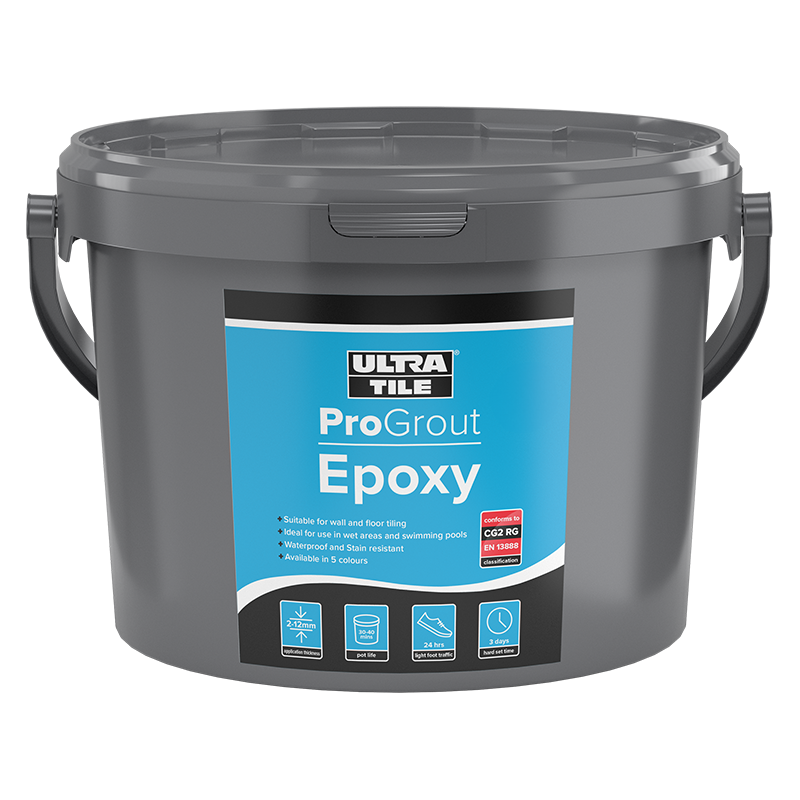
FROM £39.05 INC VAT

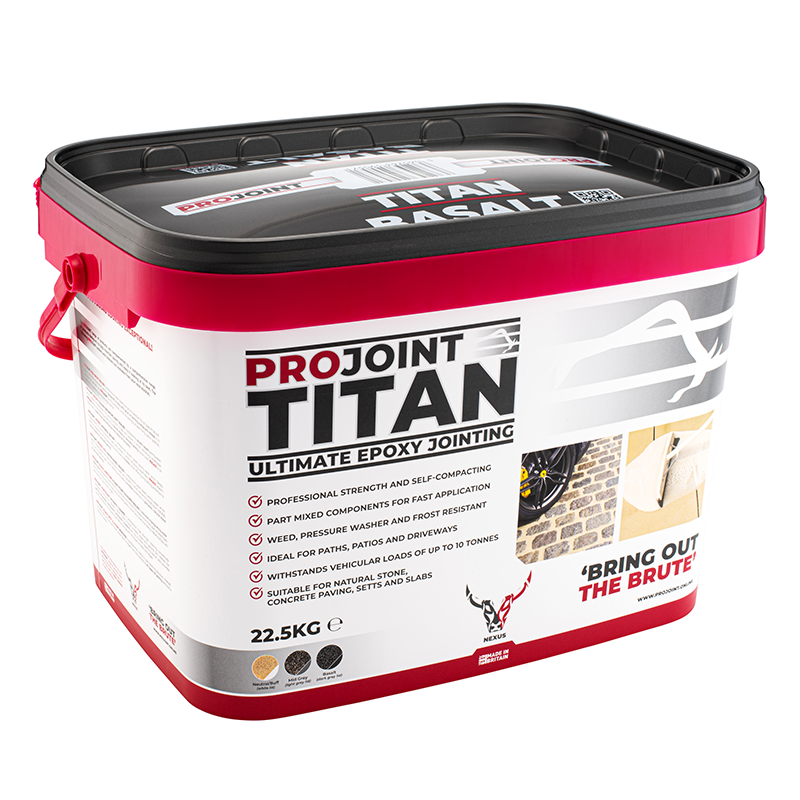
FROM £67.80 INC VAT
Tools and Materials
Slow-speed mixing drill and paddle (high speed introduces air bubbles)
Rubber grout float - epoxy will destroy a standard grout float
Epoxy grout sponges (coarser than standard sponges, designed for epoxy residue)
Two buckets of clean water, changed frequently
Scrubbing pads or scourers for haze removal
A grout release agent or sealer on the tile surface, if the tile is textured or naturally porous
Step-by-Step Application of Epoxy Grout
1. Prep the tiles and joints
Before you start, the joints need to be clean, dry, and free of adhesive residue or dust. Any contamination left in the joint will be recorded right through the finished grout line. If your tile is porous or textured, think about applying a grout release product first – this will make cleaning up the epoxy haze much easier later on.

2. Mix the epoxy grout
It is essential to follow the manufacturer’s instructions when mixing epoxy resin and hardener. Epoxy grout must be mixed thoroughly, and partial measurement should be avoided. Therefore, it is recommended to mix one tub at a time. Use a slow-speed drill and paddle mixer to blend the components until a smooth, uniform colour and consistency are achieved. Avoid overmixing, as this can introduce air into the mixture.
3. Apply at a 45-degree angle
Using a rubber float, press the grout firmly into the joints diagonally across the tiles, ensuring no gaps are left. Epoxy grout can be thicker and stiffer than cement based grout, so it will be a harder job and go slower.

4. Begin initial clean-up promptly
This is where epoxy grout separates the confident from the caught out. Clean up should be started 10-15 minutes after application - if you wait too long the epoxy haze is very difficult to remove. Rinse and change water often, using a grout sponge in a circular motion to remove the bulk of the excess.
5. Haze removal
A second, more thorough clean typically follows 20–30 minutes after application, using a scrubbing pad or scourer in a diagonal motion across the joints to lift any remaining haze from the tile surface. Some haze may still need addressing the following day with a dedicated epoxy haze remover - this is normal and worth mentioning to clients in advance so it's not mistaken for a defect.